- Identify battery compartment, typically at back of keypad.
- Slide or unscrew cover to access batteries.
- Remove old batteries, noting orientation.
- Insert new batteries, matching previous orientation.
- Replace cover.
- Test lock to confirm functioning. If issues, refer to lock manufacturer’s guide.
Keypad door locks are an integral part of modern home security systems, offering keyless entry and enhanced convenience. However, they rely on consistent power to function optimally, with batteries being the most common source. Proper battery maintenance is crucial to ensure uninterrupted access to your property. In this post, we’re going to delve into the nitty-gritty of changing a battery in your keypad door lock. We’ll guide you through recognizing the signs that your battery needs changing, choosing the right tools, and the step-by-step procedure involved. Stay tuned to empower yourself with this essential home maintenance skill.
As we gear up to dive into the technical aspects of changing a keypad door lock battery, it’s essential to grasp the basics of these locks. Having a solid understanding of how they function, the types available, and the pivotal role batteries play in their operation will make the subsequent steps a breeze. So, without further ado, let’s explore the world of keypad door locks.
Understanding Keypad Door Locks
Explanation of how keypad door locks work
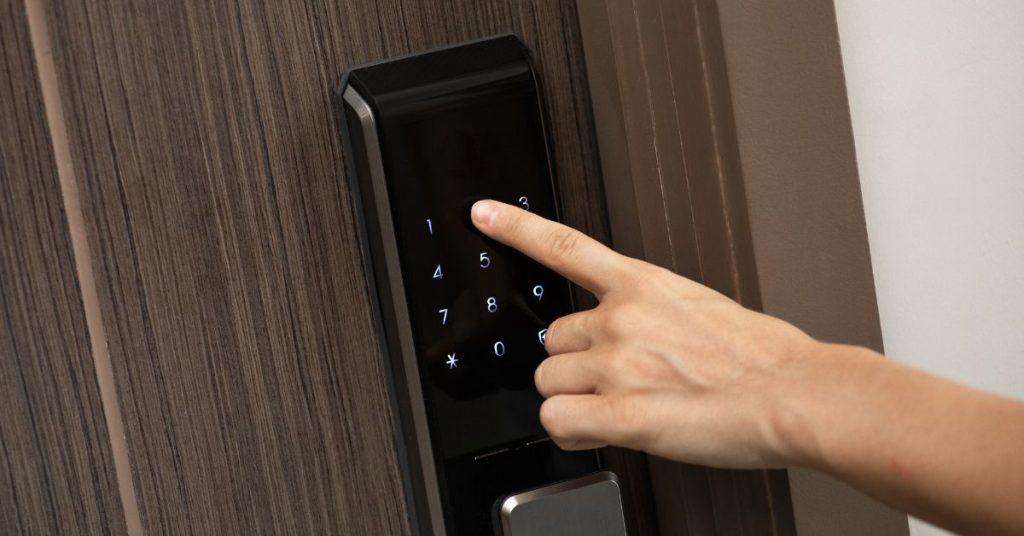
Keypad door locks, also known as digital door locks or code locks, use a numbered keypad instead of a traditional keyhole. Upon entering a correct code, the lock mechanism, typically a solenoid or a motorized bolt, activates and unlocks the door. The lock’s electronic components, including the keypad and lock mechanism, rely on a continuous power source, most commonly a battery, to function.
Types of keypad door locks
There are primarily two types of keypad door locks:
- Mechanical keypad locks: These are the simplest type, where pressing the correct sequence of buttons mechanically releases the latch. They are typically powered by a spring and thus do not require batteries.
- Electronic keypad locks: These locks use an electronic circuit to release the latch when the correct code is entered. Electronic keypad locks come in two forms – standalone units and interconnected systems. Standalone units run on batteries, whereas interconnected systems may be wired to the building’s main power supply.
Role of batteries in keypad door locks
In electronic keypad door locks, batteries serve as the crucial power source that keeps the digital interface operational. They power the circuit that validates the input code and triggers the motorized bolt or solenoid to unlock the door. Most standalone electronic locks use common types of batteries like AA or 9V. Under normal usage, these batteries can last anywhere between 6 months to a year, though this varies depending on the specific lock model and frequency of use.
Now that we’ve grasped the functioning, types, and battery role in keypad door locks, let’s move on to some telltale signs indicating a need for battery replacement. Identifying these symptoms early can help prevent unexpected lockouts and maintain optimal lock performance.
Understanding the operational nuances of keypad door locks is essential, but equally important is knowing when to replace the batteries. An appropriately timed battery change can save you from unwanted inconveniences. Let’s dive into the factors affecting battery life and the signs of a dying battery.
Signs Your Keypad Door Lock Battery Needs Changing
Frequency of use and expected battery life
The battery life of a keypad door lock varies widely based on its usage. For example, a door lock used 10 times a day might see its batteries lasting about 6-12 months, depending on the battery type and quality. Conversely, a door lock used more frequently, say 30 times a day, may require a battery change every 3-6 months. It’s advisable to refer to the manufacturer’s guide for a more precise estimate, but these figures provide a good general framework.
Warning signs indicating a dying battery
Several signs can indicate a battery nearing the end of its life:
- Slower Response: If your keypad starts to respond slower than usual or requires multiple attempts to unlock the door, it could be a sign of low battery.
- Low Battery Indicator: Many electronic locks feature a low battery warning light or sound, alerting you when it’s time for a change.
- Frequent Resets: If your lock is resetting its settings or forgetting codes frequently, it may be due to a dying battery.
Potential risks of not changing batteries on time
Ignoring these signs and failing to change the battery on time could lead to several risks:
- Lockout: The most immediate risk is a lockout. If the battery dies completely, you may not be able to unlock the door without a physical key, if that option is even available.
- Security Vulnerabilities: A non-functional lock might leave your property vulnerable to unauthorized access.
- Damage to Lock: In some cases, if a battery leaks or corrodes, it can damage the electronic components of the lock.
Now that you’re familiar with the signals of a battery requiring replacement and the risks associated with not doing so, we’ll proceed to an equally significant aspect – the tools needed for this job. Changing a keypad door lock battery might sound technical, but with the right set of tools, it’s a straightforward process.
As with any maintenance task, having the right tools can make the process of changing a keypad door lock battery much more manageable. Let’s review the tools you’ll need, their roles, and crucial safety precautions to observe during this process.
Tools You Need for Changing a Keypad Door Lock Battery
List of required tools
Here is a simple list of tools you may need:
- New batteries: Refer to your lock’s user manual to determine the correct type and size of battery needed.
- Screwdriver: Some locks require a screwdriver to open the battery compartment.
- Gloves: To prevent any potential injury or battery leakage from coming in contact with your skin.
- Multimeter (Optional): For checking the charge level of the current and new batteries.
Brief description of how each tool is used
- New batteries: These will be inserted into the battery compartment of the lock to replace the old ones.
- Screwdriver: Some battery compartments may be secured with screws. Use the screwdriver to open such compartments.
- Gloves: Always wear gloves when handling batteries to prevent potential injury from battery leakage.
- Multimeter: If you’re unsure about the charge level of your current batteries or the new ones, you can use a multimeter to check their voltage.
Safety precautions when handling these tools
Safety should always be the first priority. Here are some safety precautions to keep in mind:
- Always turn off the lock (if possible) before starting the battery changing process.
- Wear gloves to prevent direct contact with battery acid.
- Do not force the battery compartment open; if it doesn’t open easily, refer to the manufacturer’s manual or contact their customer service.
- Dispose of old batteries appropriately; do not throw them in the regular trash.
With a clear understanding of the necessary tools and safety precautions, you’re all set to tackle the task of changing your keypad door lock battery. Next, we’ll walk you through the process step by step to ensure a smooth and successful battery replacement.
Equipped with the necessary tools and safety knowledge, we’re now ready to delve into the detailed process of changing a battery in a keypad door lock. This step-by-step guide will demystify the process and enable you to confidently tackle the task.
Detailed Step-by-step Guide to Changing a Keypad Door Lock Battery
Preparing the keypad door lock
- Start by ensuring that the door is unlocked. You don’t want to accidentally lock yourself out during this process.
- If possible, switch off the lock from any power source. This minimizes the risk of electrical shocks.
Steps to safely remove the old battery
- Locate the battery compartment. It’s usually at the back of the lock or under a sliding or screw-on cover on the front.
- Depending on the model of your lock, you might need to unscrew the battery compartment. Use the appropriate screwdriver to do so.
- Remove the old batteries. Be careful to note the direction they’re placed in; you’ll need to place the new batteries in the same orientation.
Inserting the new battery
- Place the new batteries in the same direction as the old ones were placed.
- Once all the batteries are in, replace the battery cover. If necessary, screw it back on.
- If your lock has a power switch, turn it back on.
Testing the keypad door lock after battery change
- Test the lock by entering your access code. The door should unlock promptly.
- Test a few more times to confirm that the lock is functioning as expected.
Congratulations! You’ve successfully changed the battery of your keypad door lock. But this isn’t the end of our journey. To ensure that your new batteries last as long as possible, we’ll now look at some tips and tricks for prolonging their life. Also, we’ll discuss the best batteries to use for your keypad door locks and how to dispose of used batteries responsibly.
Successfully changing a battery in a keypad door lock is a significant accomplishment. Still, the efficiency and longevity of those new batteries largely depend on your usage and maintenance practices. Let’s explore some proven tips for maximizing your battery life, choosing the best batteries, and responsible disposal of used ones.
Tips and Tricks for Prolonging the Battery Life of Keypad Door Locks
Proper usage and maintenance tips
- Limit Usage: Unnecessary use of the keypad lock can drain the battery faster. Use the keypad only when needed.
- Check Regularly: Regularly inspect the lock to ensure it’s functioning correctly. A malfunctioning lock can unnecessarily drain the battery.
- Keep It Clean: Dust and grime on the keypad can cause the buttons to stick, potentially draining the battery. Regularly clean the keypad using a soft, damp cloth.
Best batteries for keypad door locks
Different models of locks may require different types of batteries, but in general, long-lasting, reliable brands such as Duracell or Energizer are recommended. Some people prefer rechargeable batteries, which can be a cost-effective and environmentally-friendly option.
How to store and dispose of used batteries
If you’re not immediately installing new batteries, store them in a cool, dry place. Avoid keeping them in high-temperature areas as it could affect their lifespan.
Used batteries should never be thrown into the regular trash as they contain harmful chemicals. Many cities offer battery recycling programs, and some battery manufacturers and retailers offer take-back programs.
Equipped with these tips, you’re well-positioned to maximize the lifespan of your keypad door lock batteries. But what happens if you encounter issues after replacing the batteries? Our next section covers common troubleshooting tips and when to consider seeking professional help. With the right knowledge, you’ll be able to navigate any post-replacement hiccups.
While battery replacement usually resolves power issues with keypad door locks, you might sometimes encounter challenges even after a new battery is installed. Understanding how to troubleshoot these issues can save you time and potential distress. Let’s go through common post-replacement troubles and how to address them.
Common Troubleshooting Tips after Battery Replacement
Handling non-responsive keypad after battery replacement
If your keypad isn’t responsive after a battery change, consider the following steps:
- Check Battery Orientation: Make sure the new batteries are installed in the correct orientation. The battery compartment should have symbols indicating the correct placement.
- Check Battery Charge: Use a multimeter to ensure the new batteries are fully charged.
- Reset the Lock: Some locks may require a reset after a battery change. Refer to your lock’s user manual for instructions on how to do this.
What to do when new batteries die quickly
If you find your new batteries draining too quickly:
- Check Battery Quality: Cheap or off-brand batteries may not last as long as higher-quality ones.
- Check Lock Functionality: If the lock is malfunctioning (for example, if it’s constantly attempting to lock/unlock), it might be draining the battery more quickly. In such a case, consider calling a professional for a check-up.
When to call a professional for help
If you’ve attempted these troubleshooting steps and your lock is still not functioning correctly, it’s probably time to call in a professional. Persistent issues could indicate a deeper problem that may require more than just a battery change.
Armed with these troubleshooting tips, you’re now well-equipped to tackle any post-replacement issues that may come your way. Replacing the battery of your keypad door lock is a vital skill that ensures continuous, reliable security for your property. With this comprehensive guide, we hope that you’re now confident to maintain your keypad door lock like a pro!
Conclusion
Keypad door locks offer security, convenience, and peace of mind, but like any electronic device, they require occasional maintenance. By understanding how they work, identifying the signs of a dying battery, knowing how to change the battery safely, and following our tips to prolong battery life, you can ensure your keypad door lock serves you well for years to come. This guide has aimed to arm you with all the knowledge and skills necessary to handle this crucial task with ease.
While the process may seem daunting initially, it’s fairly straightforward once you get the hang of it. Remember, if you ever encounter issues beyond your expertise, there’s no harm in seeking professional assistance. After all, the security of your home or office is of paramount importance. Now, with your newly acquired knowledge, you can confidently take charge of your keypad door lock’s maintenance and enjoy uninterrupted security and convenience.
Related Post: